
II. Indications: Skin flap closure (no vascular compromise)
- Y-shaped Laceration corners (90 degree angle)
- X-shaped Laceration
III. Advantages
- Does not compromise blood supply to tip of corner
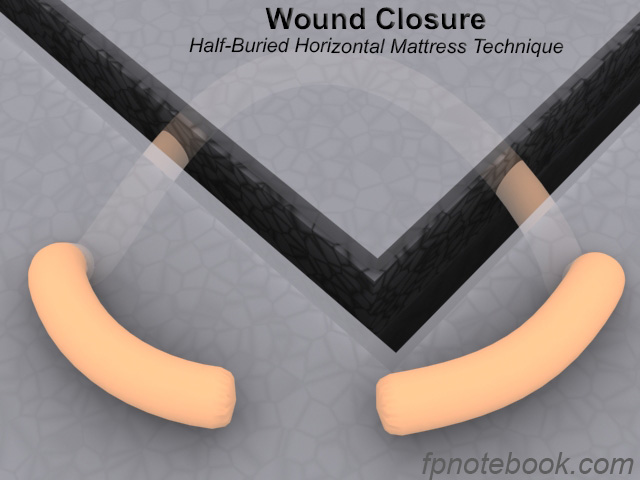
IV. Technique: Y-shaped lesion
- Background
- Use non-Absorbable Suture
- Draw line perpendicular from corner tip (forms Y)
- Four landmark sites (2 on each side of the wound)
- Point 1 along left base of Y (6-8 mm from corner)
- Point 2 at left upper arm of Y (4 mm from corner)
- Point 3 at right upper arm of Y (4 mm from corner)
- Point 4 along right base of Y (6-8 mm from corner)
- Images
- Step 1: Skin entry to base of flap
- Enter at point 1 on left side of wound
- Needle passes deep, below Dermis
- Exits subcutaneously near Point 2
- Exits at point 2 on left side of wound
- Step 2: Subcuticular stitch through flap
- Continue stitch started in Step 1
- Enter wound at point 2 on left side of wound
- Pass subcuticular stitch in flap to point 3
- Step 3: Flap to skin exit
- Enter near point 3 still subcutaneously
- Exit skin at Point 4
- Step 4: Tie knot
- Knot is between point 1-4 across base of Y
- Tie snugly, but avoid tying too tightly
- See complications below
- Step 4: Final appearance
- Suture exposed between point 1 and 4
V. References
- Mortiere (1996) Wound Management, p. 50-5
- Snell in Pfenninger (1994), Mosby, p. 12-9
- Zuber (2002) Am Fam Physician 66(12):2231-6 [PubMed]